Tutorial
-
Downaload SlicerAstro following the instructions.
-
Download WEIN069 datacube from the Astro Sample Data module:

-
Navigate to the Data module to inspect the 3DSlicer data structure and the WEIN069 FITS keywords.

-
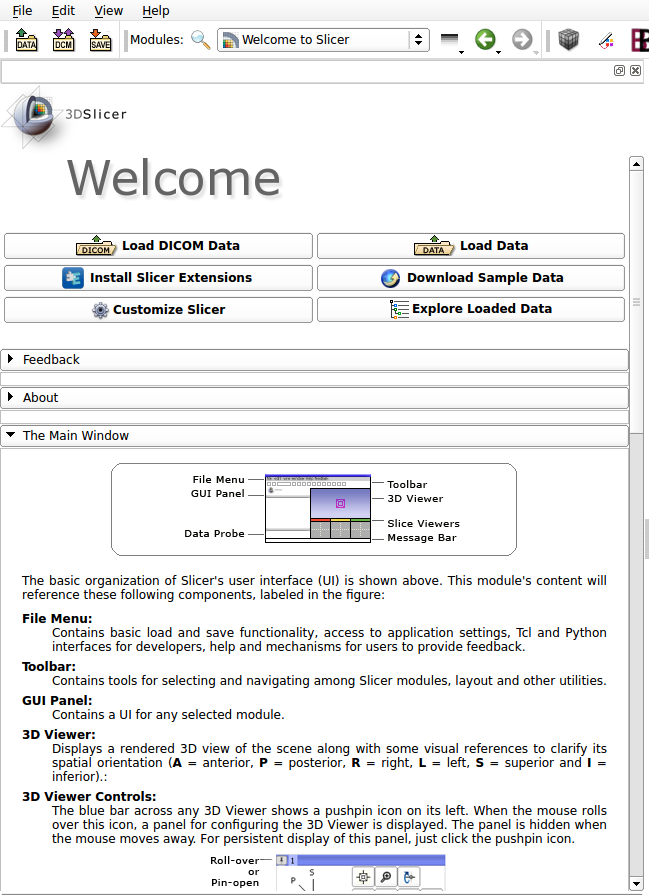
Information regarding the navigation and the GUI are given in the Welcome to Slicer module (e.g., zomming, rotate 3D View, etc...):
-
Navigate to the AstroVolume module.
-
Change the display coordinates from the widget Volume Information.

-
Change the 2D color transfer function from the widget Display . Navigate also through the 2D Views (info on shortcuts are available in the Welcome module and here).

-
Enable Astronomical World Coordinates display in the 2D Views.

-
Change the 3D color transfer function from the widget Rendering and navigate the 3D View.

-
Download WEIN069 mask from the Astro Sample Data module.
-
Convert WEIN069 mask to a segmentations object in the AstroVolume module.

-
Navigate to the Segmentation Editor Module and modify the segmentations.

-
Convert the modified Segmentation back to a labelMap Volume and, then, save it as a FITS file (ctrl+S; ⌘ S).
-
Navigate to the AstroSmoothing Module and smooth the WEIN069 volume with the Intensity-Driven Gradient and default parameters.

-
Click on the eye to visualize the automated generated, 3 rms, selections provided by the smoothing algorithm:

-
Navigate to the AstroMomentMaps Module and generate the 0th, 1st and 2nd Moment Maps providing as input the segmentation provided by the smoothing module.
-
Save the scene:
-
Reload the scene. The full session (data, widgets, etc...) will be automatically restored as left.