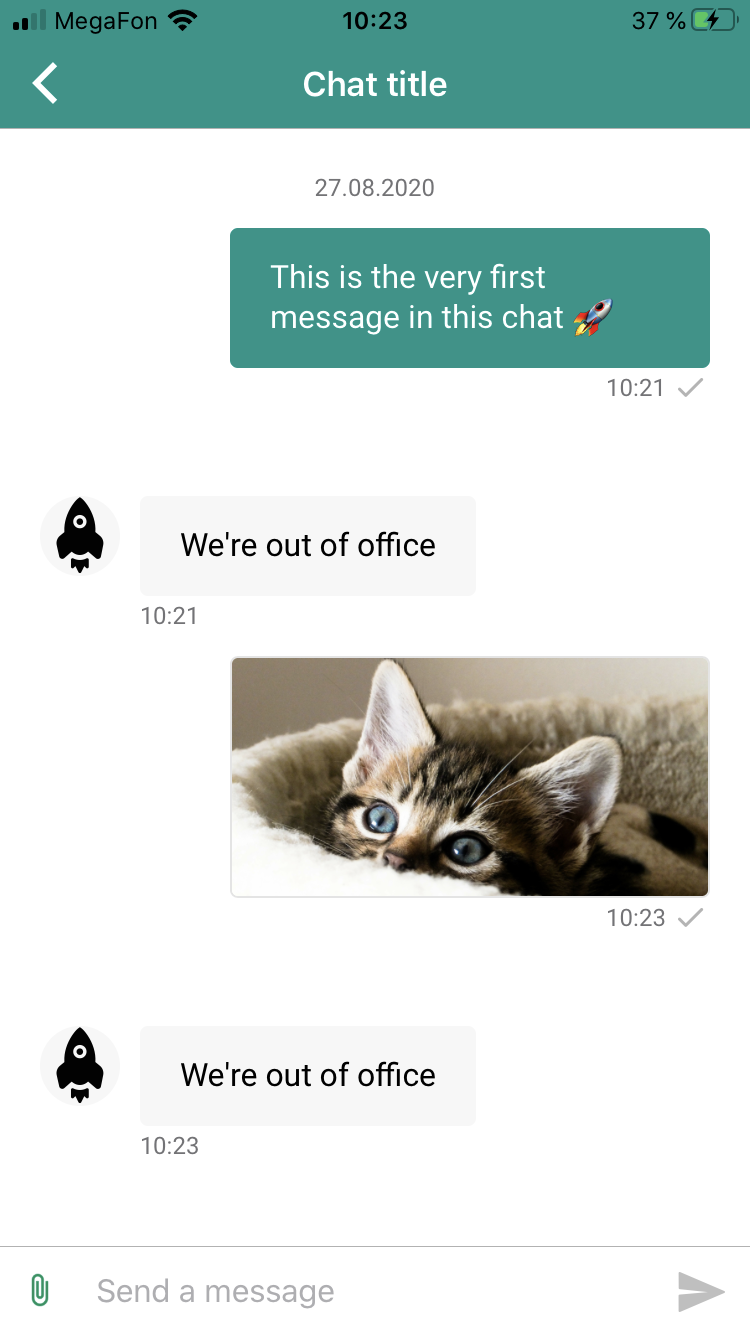
In app chat
Find more info about Live chat product on Infobip docs.
- Intro
- Display In-app chat view
- Customize In-app chat view
- Handle notification taps
- Sending attachments
- Attachments preview
- Supported attachment types
- Unread chat push messages counter
- Changing localization
- Sending Contextual Data
- Multiple chat threads
- Authenticated chat
- Example application
To setup In-app chat for Mobile Messaging plugin, put inAppChatEnabled: true in configuration:
InfobipMobilemessaging.init(Configuration(
        ...
        inAppChatEnabled: true,
        ...
));
Fully setup in-app chat you can find in Example app How-to-start-Example-app
By default in-app chat screen will be displayed with toolbar and back button at the left corner for closing the screen.
InfobipMobilemessaging.showChat()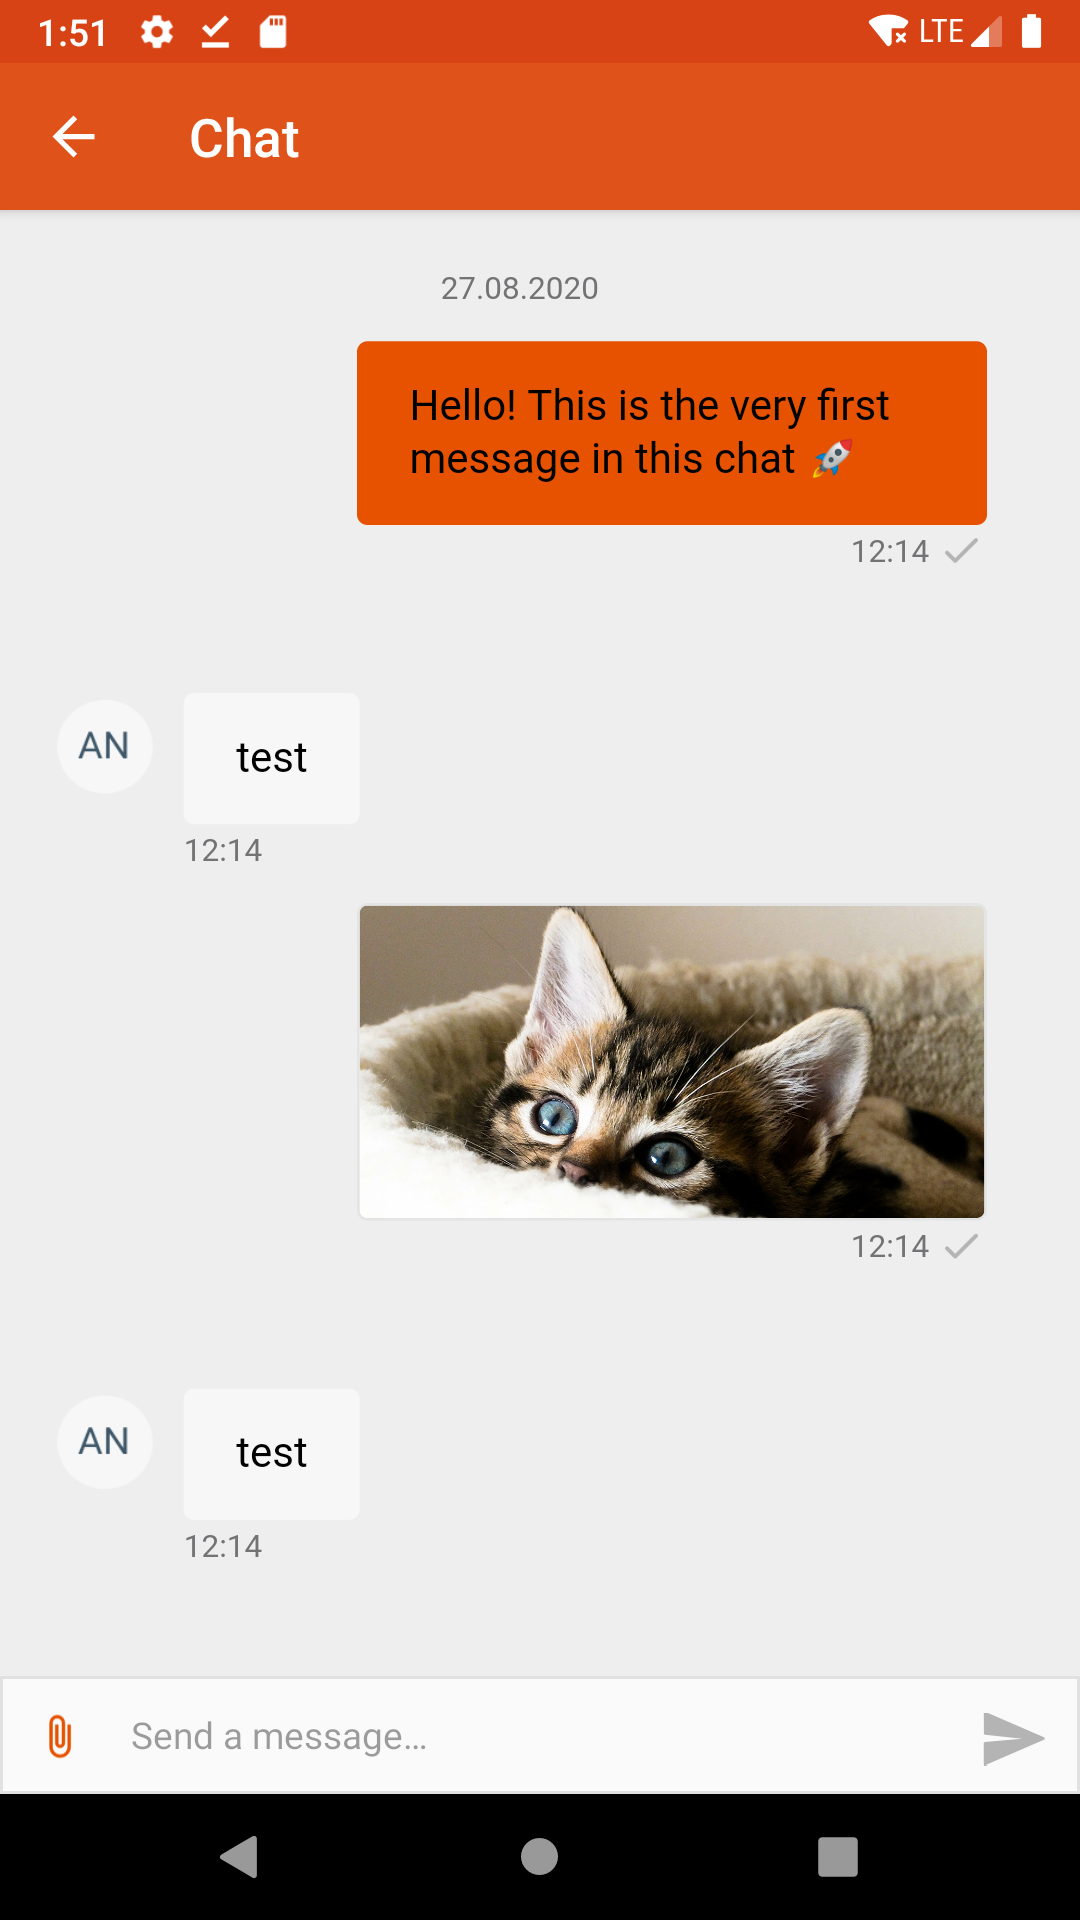 |
 |
InfobipMobilemessaging.showChat(shouldBePresentedModallyIOS: true);You can define your own custom appearance for chat view. If it's not defined, these settings will be setup from web widget configuration from Infobip Portal.
-
title(String) - title for the top bar -
sendButtonColor(String) - in hex format, tint color for Send button -
navigationBarItemsColor(String) - in hex format, tint color of top bar -
navigationBarColor(String) - in hex format, color of top bar -
navigationBarTitleColor(String) - in hex format, color of title of top bar
InfobipMobilemessaging.setupiOSChatSettings(IOSChatSettings(
    title: 'Chat Title',
    sendButtonColor: '#FF0000',
    navigationBarItemsColor: '#FF0000',
    navigationBarColor: '#FFFF00',
    navigationBarTitleColor: '#FF0000',
));You will need to add IB_AppTheme.Chat in styles.xml, announcing colors in colors.xml.
    <style name="IB_AppTheme.Chat">
        <item name="colorPrimary">@color/primaryColor</item> <!-- color of toolbar background and send chat button tint -->
        <item name="colorPrimaryDark">@color/primaryLightColor</item> <!-- color of status / notification bar -->
        <item name="colorControlNormal">@color/primaryDarkColor</item> <!-- color of navigation icon in toolbar -->
        <item name="titleTextColor">@color/primaryTextColor</item> <!-- color of toolbar title text -->
    </style>
To customize title add ib_chat_view_title to strings.xml
<resources>
    ...
    <string name="ib_chat_view_title">My Chat Title</string>
</resources>Mobile Messaging Plugin has notificationTapped event, which will be sent when user opens the app by tapping on the notification alert. Note that chat messages may be recognised by chat attribute:
InfobipMobilemessaging.on(
    LibraryEvent.notificationTapped,
    (Message message) => {
          if (message.chat) {print('Chat message tapped')}
});We've added sending attachments support, more info in iOS SDK docs, Android SDK docs
For saving attachments to photo library you will need to add additional permissions
An API is available to get and reset current unread chat push messages counter. The counter increments each time the application receives chat push message (this usually happens when chat screen is inactive or the application is in background/terminated state). In order to get current counter value use following API:
int counter = await InfobipMobilemessaging.getMessageCounter();MobileMessaging SDK automatically resets the counter to 0 whenever user opens the chat screen. However, use the following API in case you need to manually reset the counter:
InfobipMobilemessaging.resetMessageCounter();You can register to the event unreadMessageCounterUpdated with inAppChat.unreadMessageCounterUpdated value, in order to get updates of the counter in runtime.
The predefined messages prompted within the In-app chat (such as status updates, button titles, input field prompt) by default are localized using system locale setting, but can be easily changed providing your locale string with the following formats: "es_ES", "es-ES", "es".
InfobipMobilemessaging.setLanguage("es");It is possible to send contextual data / metadata to Infobip’s Conversations via mobile messaging SDK's chat. Data can be sent anytime, several times, with only one restriction: the chat must be already loaded and presented, and the communication should have started (meaning, there are messages visible and not the initial “Start the chat” button). Sent data will be automatically linked to the conversationId and accountId internally.
There are two parameters:
- The mandatory data, sent as string, in the format of Javascript objects and values (for guidance, it must be accepted by JSON.stringify())
- And optionally, an "all multithread strategy" that can be left empty, and will use
false(ACTIVE) as default. Possible values are: metadata sent to "ACTIVE" conversation for the widget (withfalse), or to "ALL" non closed conversations for the widget (withtrue).
Usage:
InfobipMobilemessaging.sendContextualData("{ exampleKey: 'InAppChat Metadata Value Example' }", false); Default LiveChat widget works with single chat thread, one customer can only have one single open conversation. But the LiveChat widget settings page offers option to enable multiple chat threads.

When the setting above is enabled, the In-app chat UI will automatically offer in mobile:
- A list (initially empty) of all the unsolved conversation threads the user has opened.
- A button to "Start new chat" thread.
- A navigation to each specific conversation thread, to open particular chat view tap on conversation thread in the list.

The functionality for multiple chat threads works out of the box: there is no need for extra implementation in the mobile integrator's side.
It is possible to authenticate a user before accessing the In-app chat, given you have enabled this feature in the LiveChat widget.

The authentication is accomplished by combining the Mobile Messaging SDK personalisation method with a JWT (JSON Web Token). The token needs to be generated by your end (see instructions here).
The authentication will use a unique identifier for your user, that can be an email address, a phone number, or an external identifier. It is crucial for this identifier to be valid, and to match the identity defined in the UserIdentity you passed in Mobile Messaging SDK personalisation call - there will be an authentication error otherwise.
Mobile messaging provides setJwt() method to give In-app chat the ability to authenticate users. In Android, provided JWT can be used multiple times during In-app chat lifetime, due to various
events like screen orientation change, internet re-connection and others. You must ensure JWT expiration time is more than In-app chat lifetime.
/*
1 - The customer authenticate in your system, and you recognise his/her unique identifier
2 - You call personalise (InfobipMobilemessaging.personalize()) with this unique identifier (and optionally, with other attributes such as first name, second name, etc)
3 - Now you can display the chat as an authenticated user by doing the following:
*/

InfobipMobilemessaging.setJwt("your JWT");
InfobipMobilemessaging.showChat();