Home
In this wiki we can find the main steps to create an image of a python script and upload it to DockerHub.
The aim of the exercise is to create an image of a script called seqClass.py that let users get information about whether a motif belongs to:
- a DNA sequence
- an RNA sequence
- may belongs to both of them
- may not belongs to anyone of them
Once the image is created, we check that we can run the script within the corresponding container and then we upload it to DockerHub.
We describe the main steps in three different sections where we combine both code and explanation about the different sections.
Let's start!
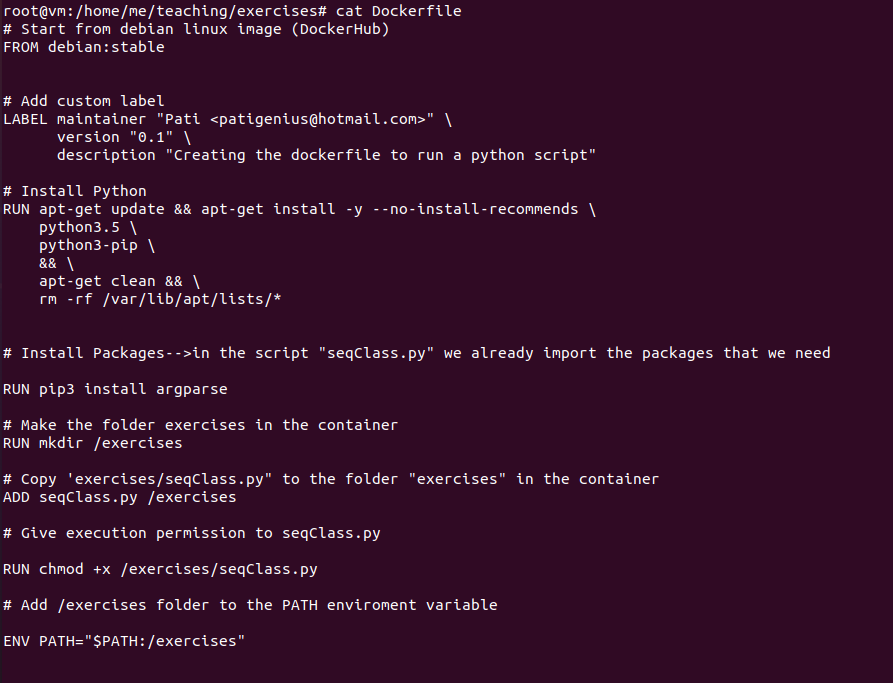
First, we need to define what do we need to create an image. We must have a Dockerfile containing the instructions (symple syntax) of what has to be done. Each instruction in this file creates a layer in the image. Moreover, we need the file from which we want to get an image, in our case a script of python called seqClass.py:

Our DockerFile looks like:
And the seqClass.py is defined as:
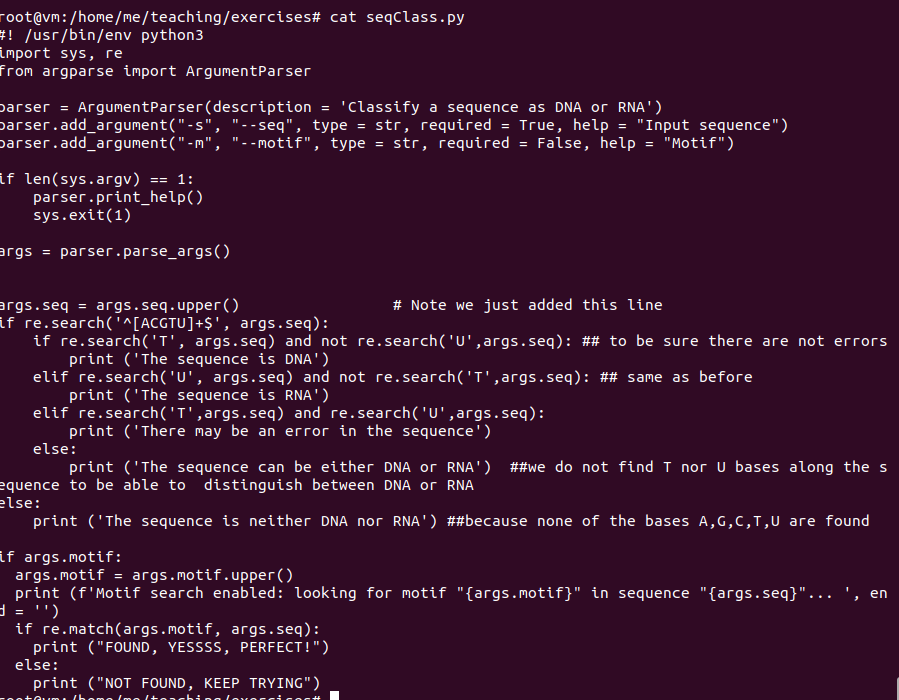
We may be careful with the indentation in the script, avoiding merging spaces and tabs because otherwise when creating the image we can obtain errors (TabError: inconsistent use of tabs and spaces in indentation).
Once we have defined these files, we can proceed creating the image:
docker build -t imagepy: this image is created from the seqClass.py that we copy from the folder teaching to the directory exercises within teaching folder.
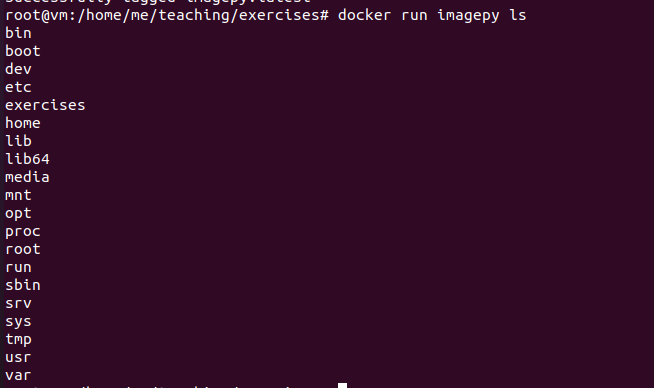
We can also run the image and see what it contains:
docker run imagepy ls: the folder exercises has been created.
Our image has been created. The container can be accessed by typing the next code:
docker ps -a: we can obtain the container ID, immage name, commands used, time of creation and status of the containet.
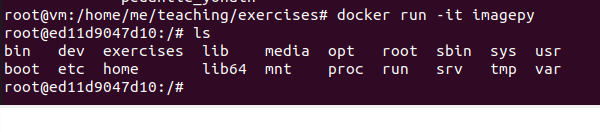
To run the script within the container, we may interactively run the image:
docker run -it imagepy: we are inside the container.
To run the script we use the following command:
./exercises/seqClass.py -s "ACTGGTC" > sequencesClass.txt: we are executing the script inside the folder exercises by using the ./ and we are indicating that the motifi whose origin we want to know is the one defined by the bases "ACTGGTC", after indicating -s.
We save the output in a .txt file.

First, we sign up in DockerHub by visiting the wab page: https://hub.docker.com/
I obtain my username: 21604pgs and define my password.
Once we have done this, we can upload the image to DockerHub.
To do it, the image must be named as username/repository:tag, which means that:
- username= 21604pgs (username for DockerHub)
- repository= teaching
- tag: by default, latest
The code to change the name is the next:
docker tag imagepy 21604pgs/teaching:latest: we have already copied the imagepy to an object 21604pgs/teaching.

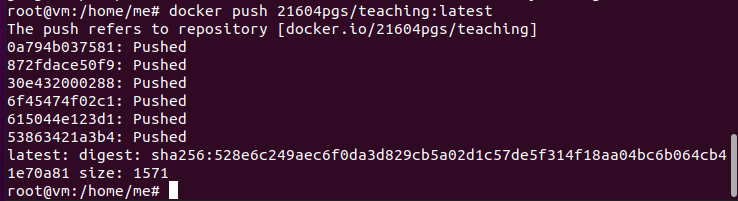
Finally, we can push it to DockerHub:
docker push 21604pgs/teaching:latest: we upload the image to DockerHub.
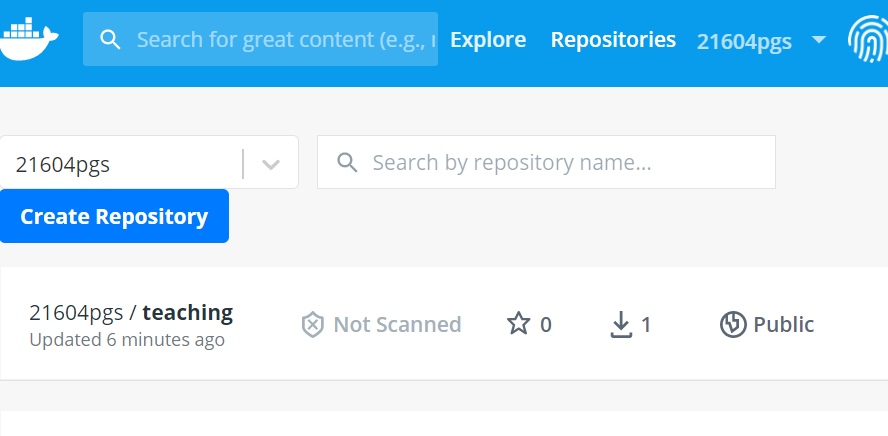
The final result we can observe in DockerHub is the next one:
We can also connect DockerHub and Github and build a deploy key.
For more details about DockerHub and the teaching repository that has been created, you can visit My Docker Profile