Step 1: Install Anaconda installer from here: https://www.anaconda.com/distribution/ For an installation guide to install Anaconda on your system for:
- Windows : https://docs.anaconda.com/anaconda/install/windows/
- Mac : https://docs.anaconda.com/anaconda/install/mac-os/
For any installation issues with Anaconda follow- https://www.datacamp.com/community/tutorials/installing-anaconda-mac-os-x - Linux : https://docs.anaconda.com/anaconda/install/linux/
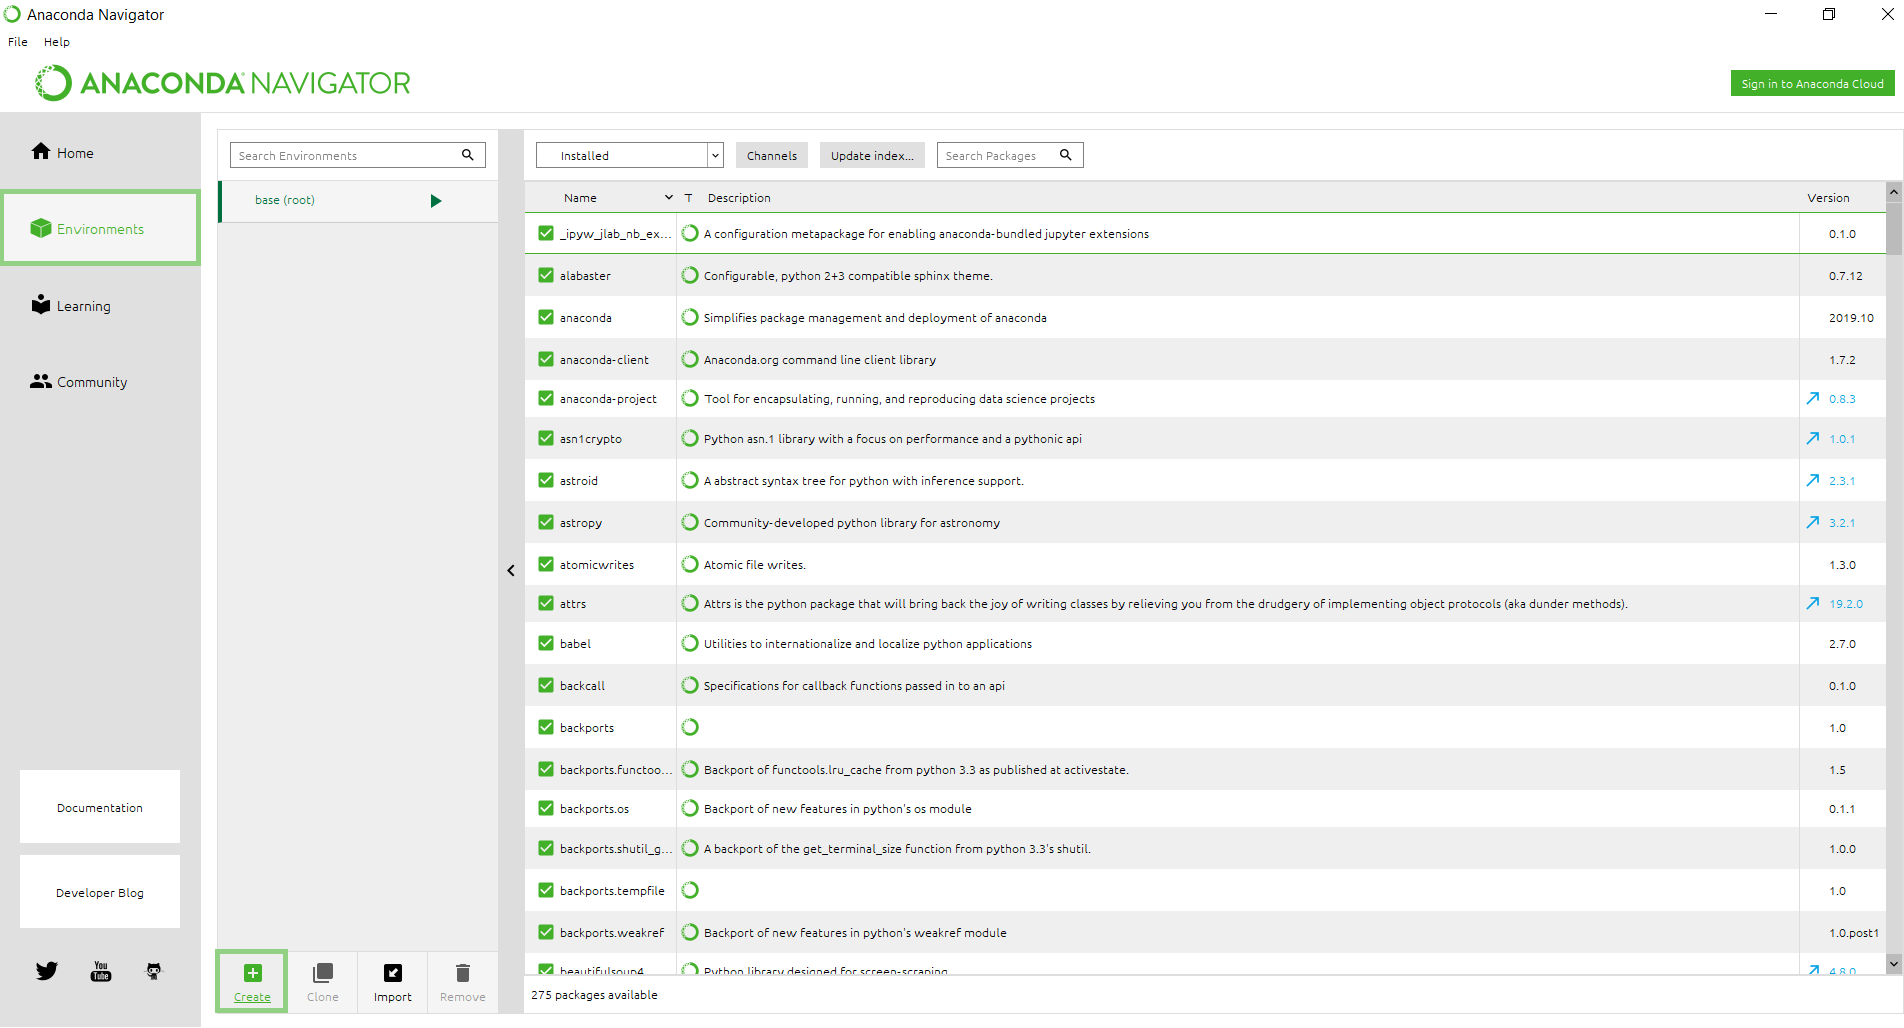
Step 2 : Open Anaconda Navigator -> Go to Environments -> To create a new virtual enviroment, press Create.
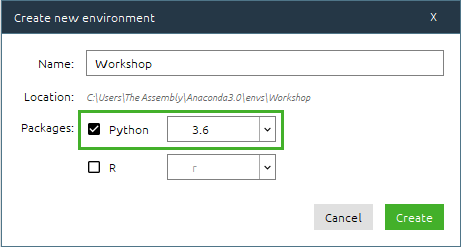
Step3 : Name the virtual enviroment, tick the Python option and select 3.6 as the version, press Create.
Step 4 : To run the virtual environment press the Play button and select Open Terminal.

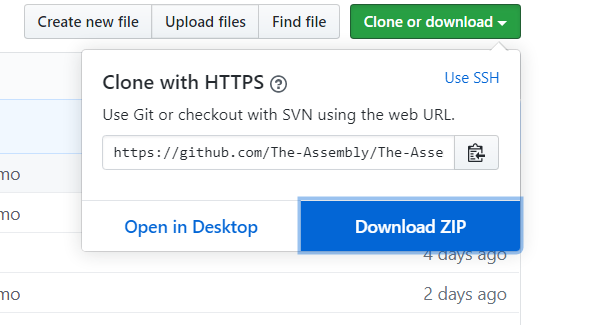
Step 5 : Go to the github repository click Clone or Download and press Download Zip to download the contents of the repository as a zip file. Extract it.
Step 6 : On the Terminal that you opened, direct to the directory where the unziped repository is stored. Copy the path of the directory and type the following: cd \the\path\to\the\repository\directory

Step 7 : To install all the libraries required, type the following on the terminal (this process could take a few minutes): pip install -r requirements.txt

Step 8 : After all the libraries are inatalled, navigate to the location of all the Jupyter Notebooks, type the following on the terminal: cd Notebooks
Step 9 : Finally, to launch Jupter notebooks, type jupyter notebook on the terminal
